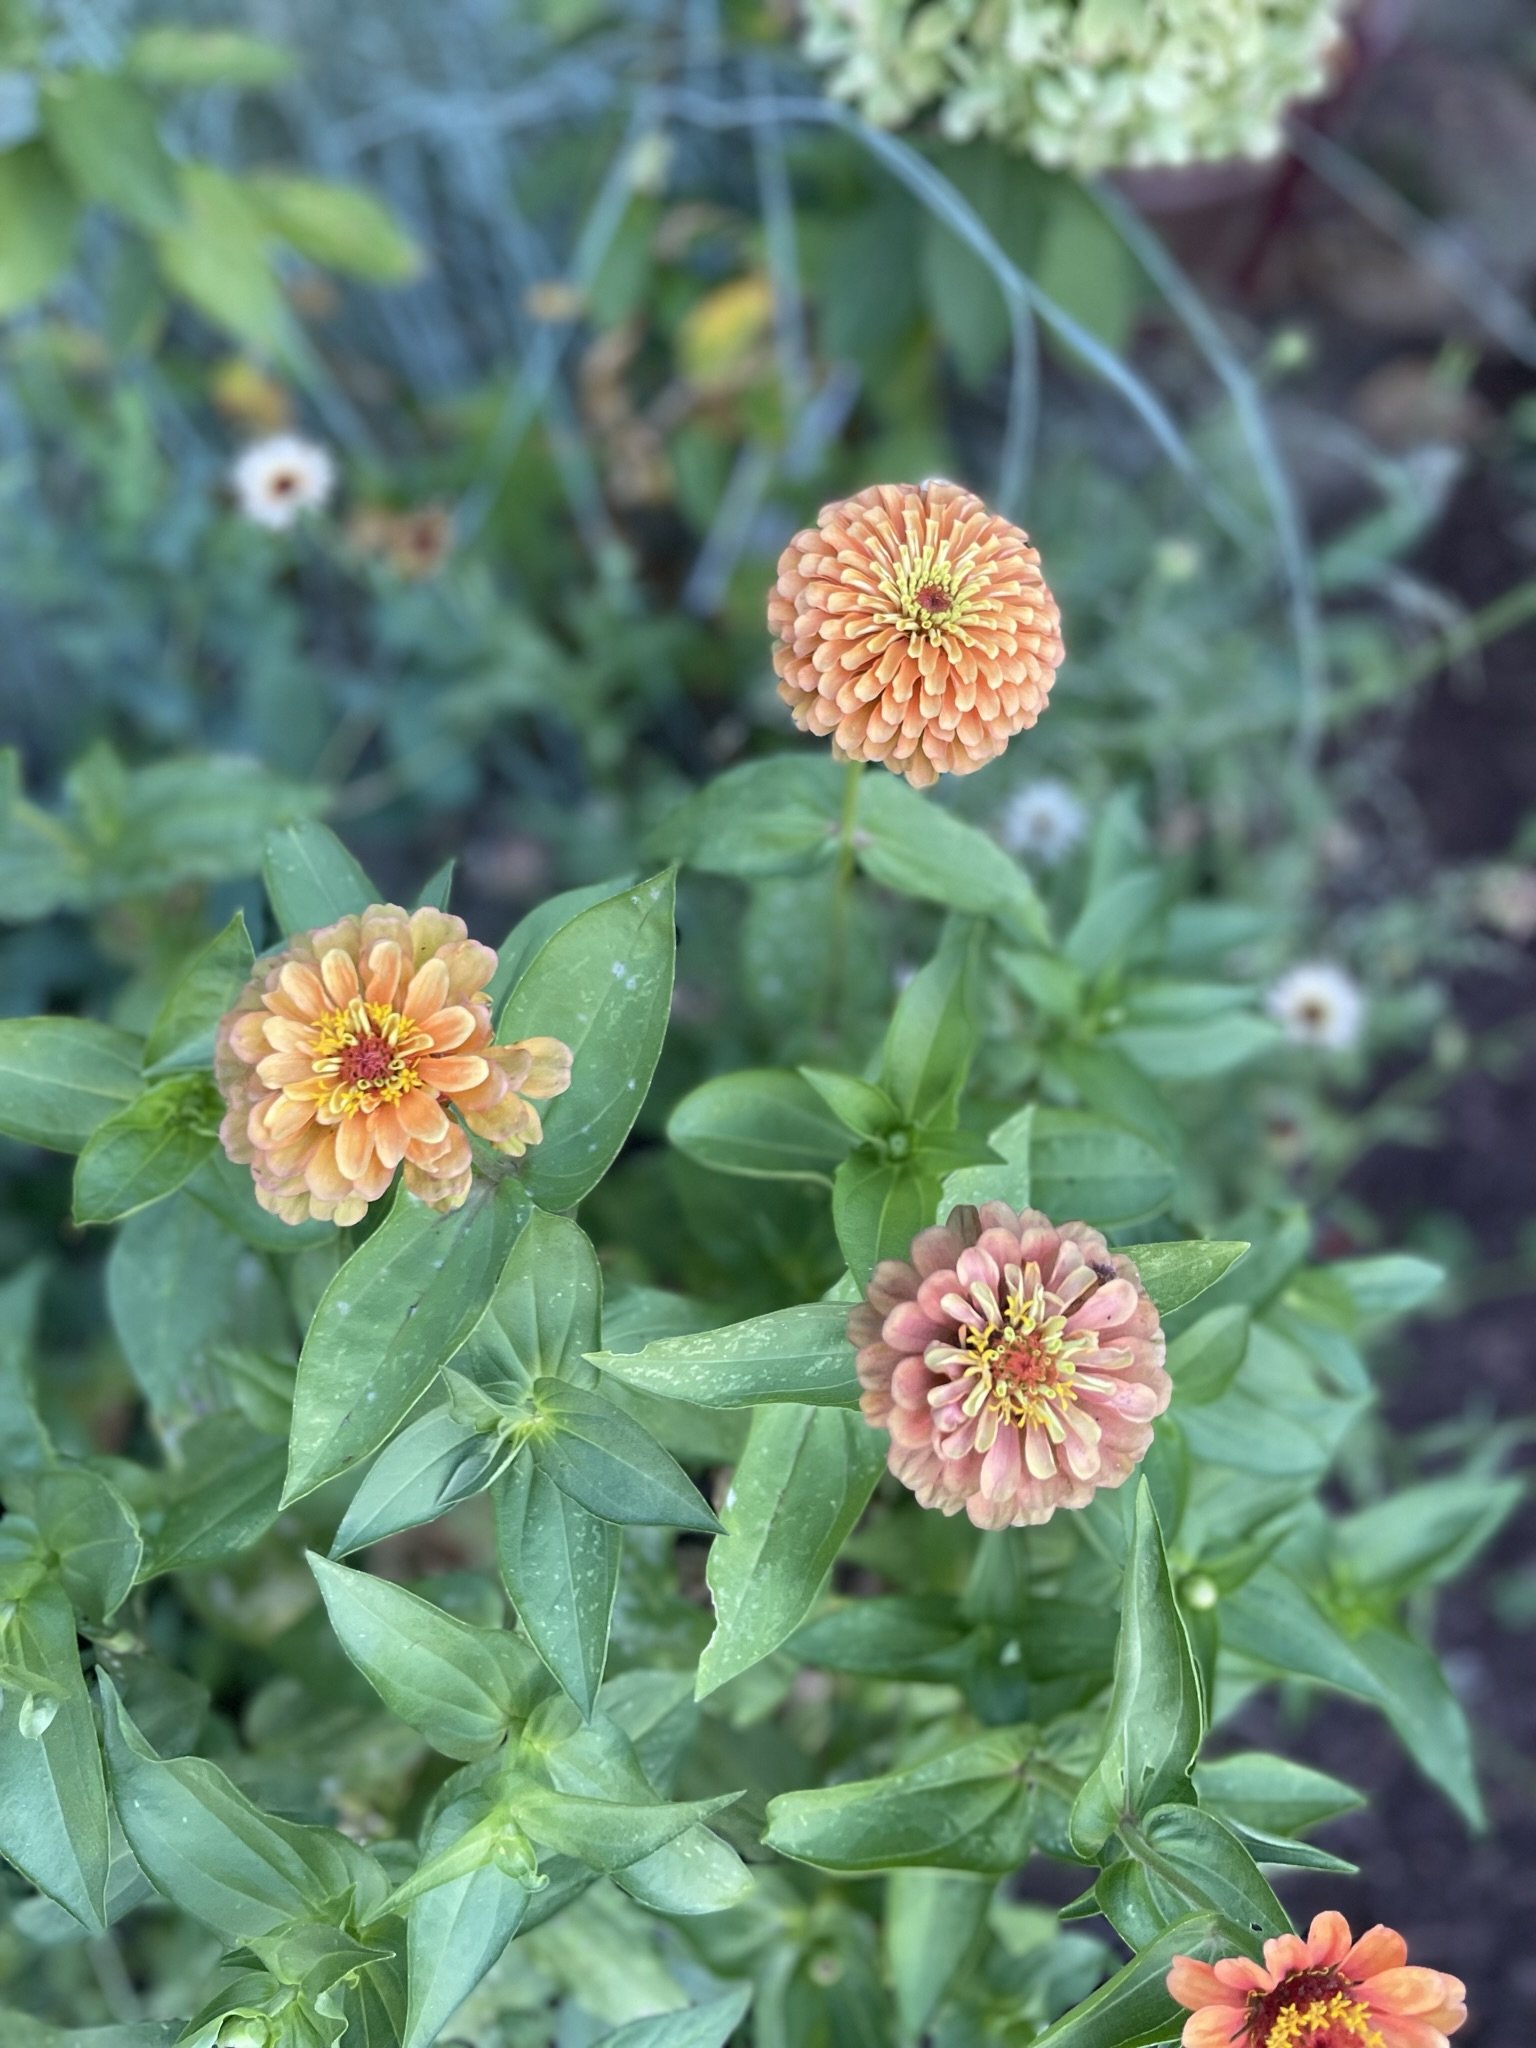
If you are like me, spring gets here and you begin seeing things bloom so you rush to your local garden center and buy all the seeds you know will bloom in the fall. When you get home you realize that half the seeds you bought do best when planted 4-6 weeks before the last frost. As a florist who is constantly preparing for weddings months in advance, I have learned that planning ahead is key to success both in gardening and in business. While we cannot control the future, we can do our best to listen to the earth, discern and take the risk of planting a seed that may or may not grow. It’s worth it.
10 Steps to Garden Prep
Here are 10 steps to creating your own planting calendar in the winter to ensure that your garden is colourful for spring, summer and fall.
If you have not already ordered your summer/ fall blooming seeds, do it ASAP. My favorite place to order seeds is from Baker Creek Seeds: Here are some seeds I would recommend for a vibrant cut flower garden that is easy to grow (atleast in Zone 7)
Amaranth
Cosmos
Celosia
Dahlia bulbs
Dara
Fennel
Marigolds
Rudbeckia
Sunflowers
Zinnias
Go to your grocery store and buy a 2023 Farmers Almanac. Look up the last frost dates for spring 2023. To be thorough, I would also google a few other sources. For Philadelphia, I would say you can begin planting transplants safely by the last two weeks of April.
Once your seeds have arrived read the planting recommendations usually located on the back of the seed packet. Sort your seeds into piles based on the time from the last frost when you should plant. Some should be started in containers while others can be sewn directly into the ground when all chance of frost is past (generally you are good by May).
Count back from your estimated last frost date and mark the dates in your calendar.
Grab some small brown paper bags and on the outside of each bag, write he date and seeds that need to be planted. Anything before your last frost date will likely need to be planted in containers. Once your bags are labeled by month, place the seeds in the appropriate bags and store them together in a larger box.
Ensure you have all the trays you need for the flowers that you are planting. For example if you have 200 Marigolds make sure you have 100 cells to plant them in. This may seem like a lot, but not every flower will make it. Often these trays come with 72 cells so plan accordingly.
Prepare shelving and a warm, bright environment for seedlings to grow. In the past I have placed my seedlings by windows or on top of the refrigerator. To be honest, I have had mixed success with this method, in part because my kittens destroyed half my seedling trays but also because I think the light to warmth ratio was off. If I placed them on the fridge, they didn’t get enough light. If I placed them along the windowsill, they didn’t get warm enough. This year I decided to invest in warming mats and grow lights. Here are links to grow lights and heat mats I bought. If you have any others you would recommend, I am all ears:
Starting in March watch your calendar for when you need to begin planting the first seeds. Prepare you seed starting mix in your trays and begin carefully planting seeds.
Now that your seedlings have started to grow, transfer your new little plants to the yard in early May or even late April.
At the beginning of May, start sewing seeds that can be directly seeded into the ground.
Now, all you have to do is wait patiently, water and then enjoy!


